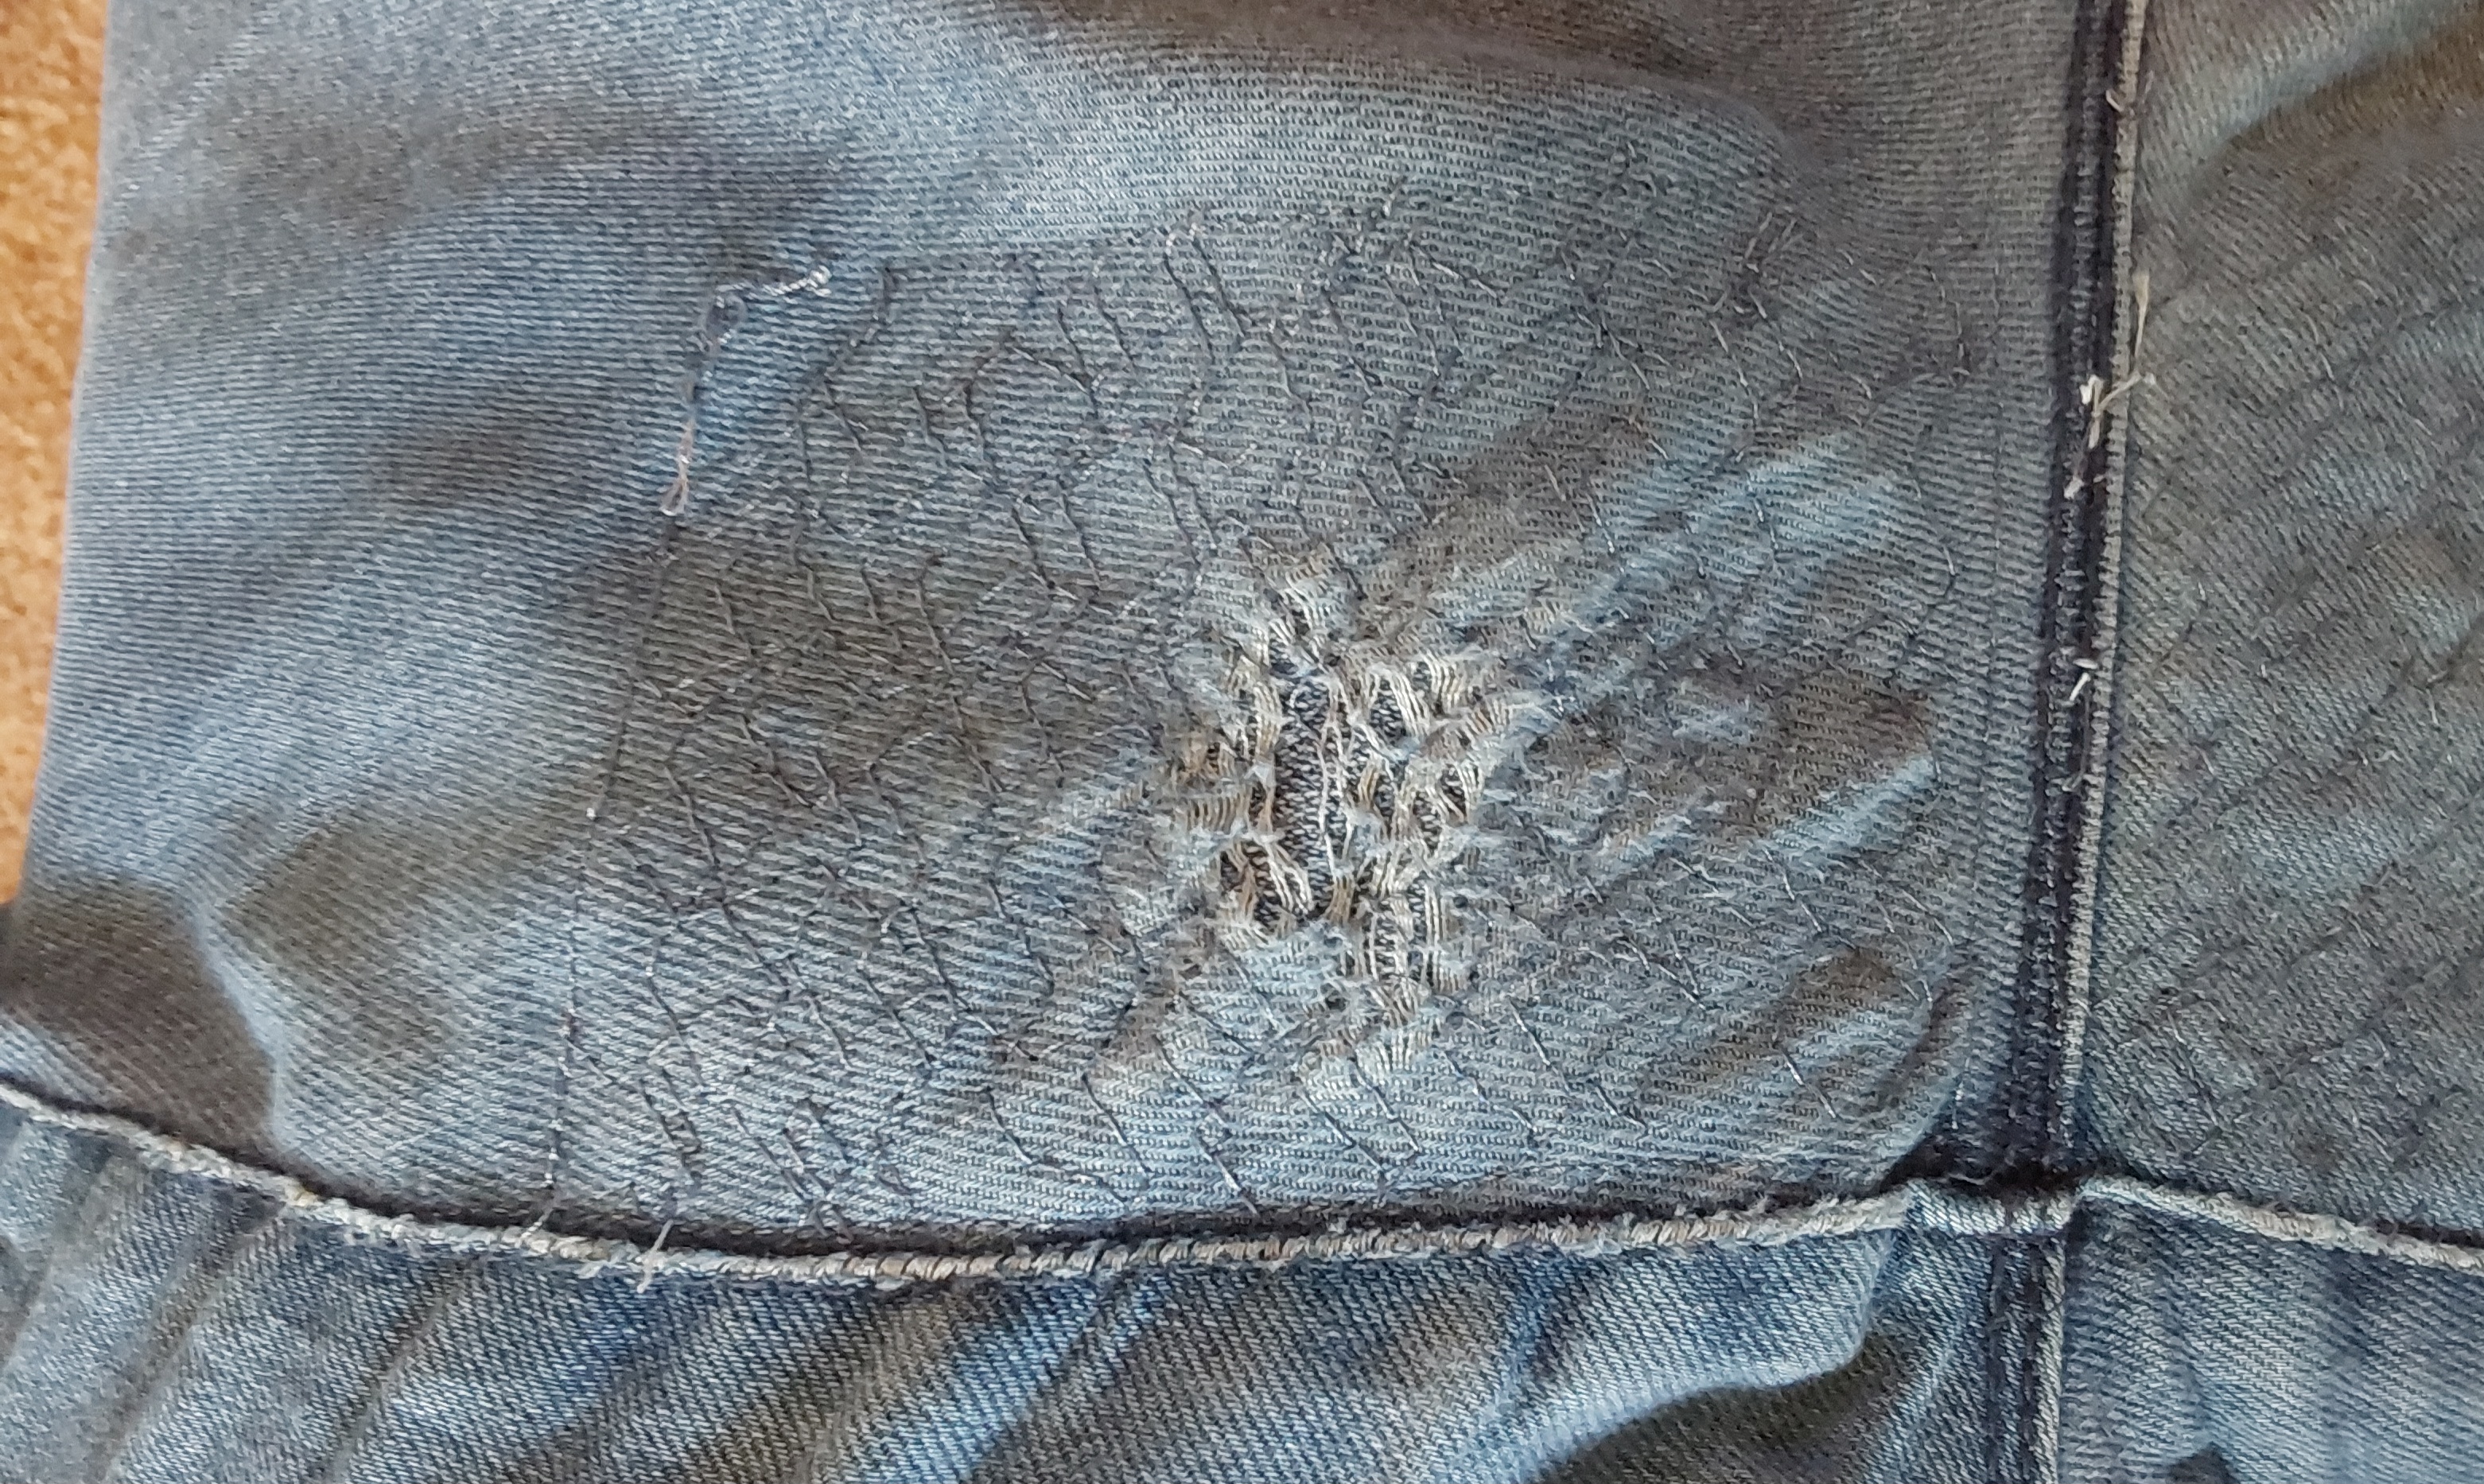
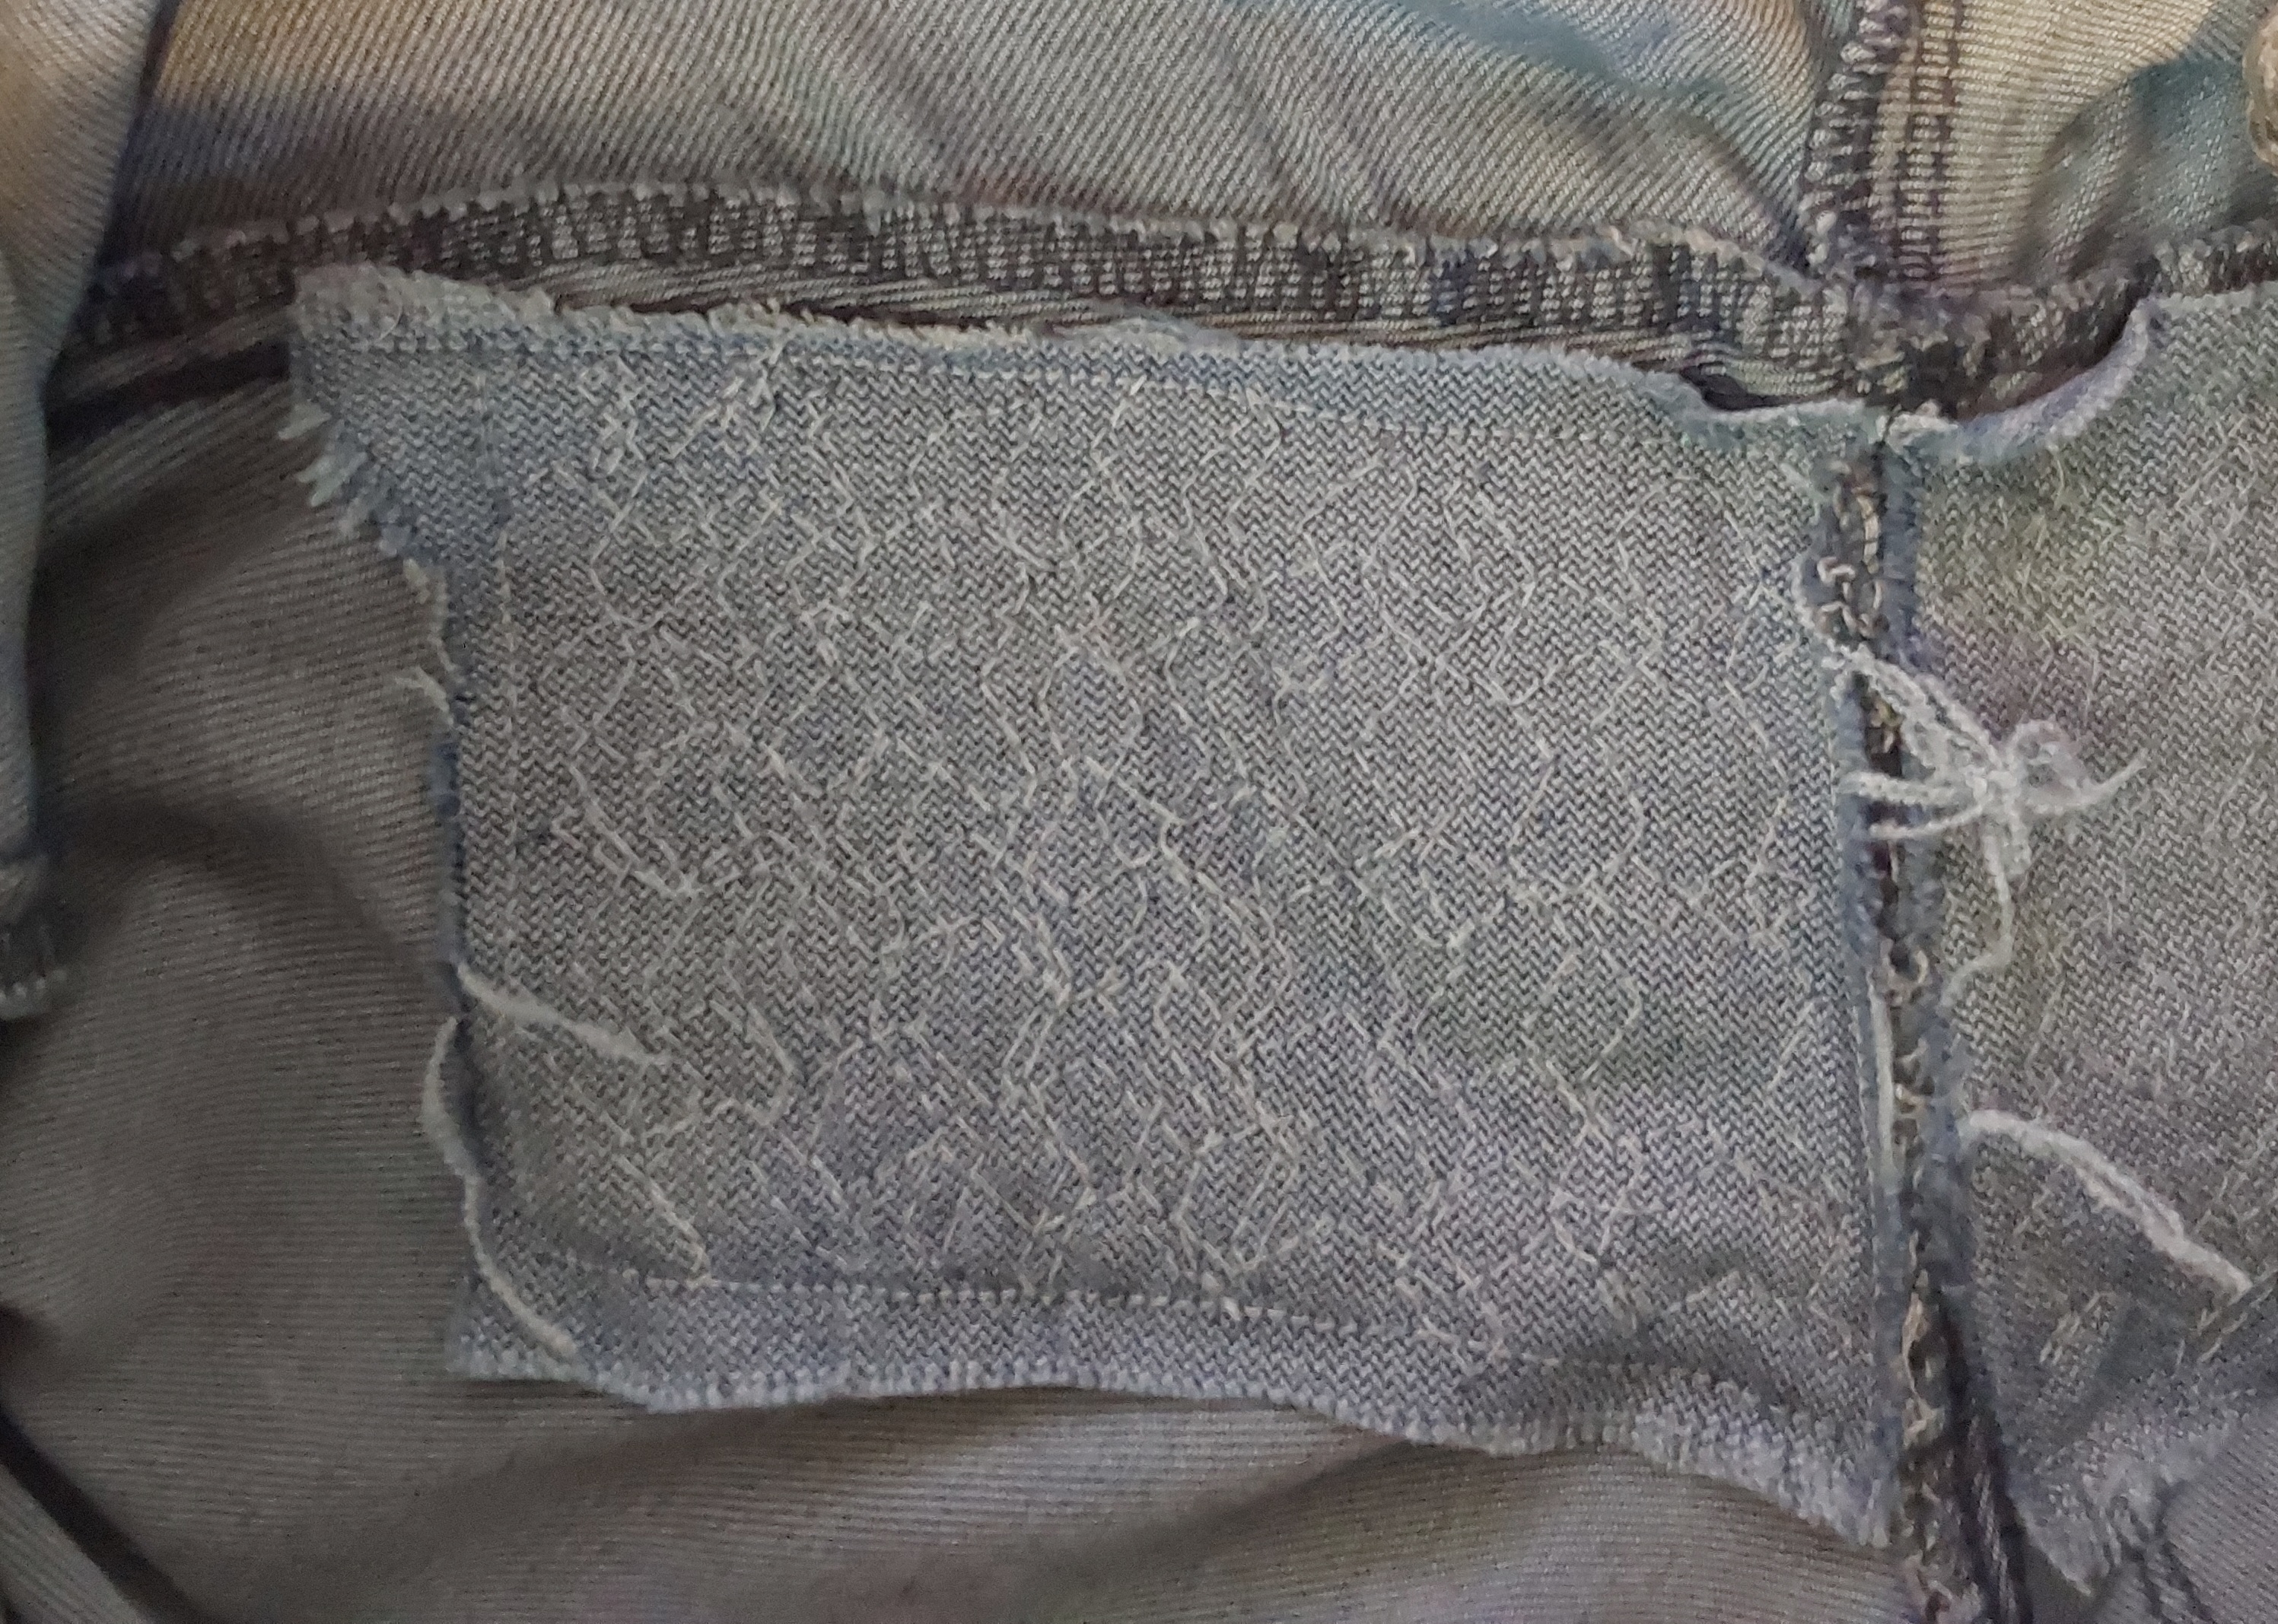
I’m grabbing every favourite piece of clothing I have around the house and mending it with a needle and thread
I’m not very good at it, but it’s not terribly hard to close up broken seams good enough for some use. It sure as heck beats buying a new pair of jeans for $70 just because I somehow destroy the crotch every year
I’m finding this to be really satisfying and relatively easy to do. Certainly I can develop better stitching technique and use better tools and material, but it’s easy enough to be good enough, or so it seems to me now
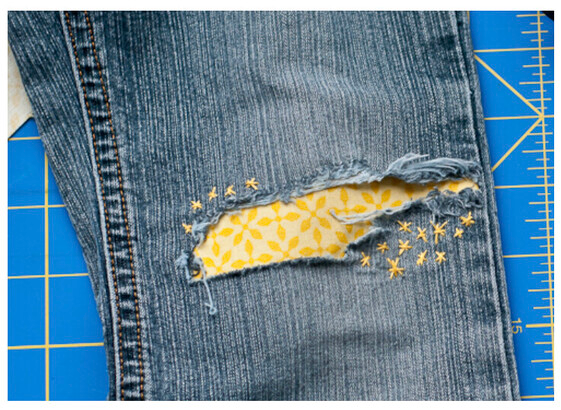
@[email protected] recommended I try “underpatching”, where you use some fabric to give the stitch something to hold on to beyond the already compromised material. Some people even do this in overt ways for the look of it. Here’s one they shared, OP @ https://mastodon.social/@StudioCaroline/110521864616379151

Yeah, you do end up having to do this. I have the exact same problem as OP, in that my crotch desires to rip and tear any pants I wear. Stitching the tear up will only work for so long, get some extra material under there to hold it for a bit longer.
I just did this with some jeans a few days ago. I’m a weirdo and have a hand crank Singer 128 that does a great job on extra thick fabric. I’ve found that my new singer heavy duty machine can’t handle fabric that is very thick.
Oh I’m broke and got a needle, thread, and a complete unwillingness to throw out my pants. Good to know about new singer machines though, I’ve been thinking about learning how to sew.
That’s where I started. Every time I have extra money things get out of hand! I hate seeing a good pair of pants go to waste over a small hole.
Ha! Tell me about it. I got into spinning and I can hardly stop myself. I’m looking down the barrel of dying my own wool now with local trees and 3d printing myself a rigid heddle loom. Fibre arts truly desire your entire soul once you get into it.
This has the fantastic parallel to Kintsugi. I also repair my own clothing like OP, but I just yesterday created a big horizontal tear in a pair of shorts I enjoy wearing and will try repairing them like you’ve linked here, it looks really nice!
I also have a rather difficult time finding decent jeans in my correct waist and length, so I’ve taken to hemming my own pants and while the first time was terrifying (I’m cutting off the bottom of a perfectly good pair of jeans what if I mess up!?) it turned out amazing and I look and feel SUPER confident in the altered pants. So I recoimmend to anyone to give hemming their own clothes a try, maybe starting with a pair of pants that you’ll repair like OP’s anyway, you can’t screw it up much worse anyway!
This style of embroidery/reinforcement is called sashiko.
What style of hemming did you do? Did you create a brand new hem or keep the old hem and attach it further up? I’ve been afraid to tackle hems on jeans so far.
I followed this tutorial which cuts the jeans to the proper length and then uses a sewing machine with a zig zag pattern to create the new hem. I had to go this way instead of reusing the original hem because I needed to shorten the leg by 4 inches and would have way too much fabric at the bottom of the leg if I kept the original hem or did one of those non-sewing tricks.
I used a marker to create the lines of interest as described in the video but uh… those lines didn’t wash out. Thankfully they’re hidden unless you really go looking for them but I’d suggest a quick trip to the craft store for tailoring chalk!
Yessss! Just got a sewing machine and finished my first bag (it took me like two months on and off) and I’m never going to toss torn clothing again.
I ordered this cool graphic t-shirt and it was way too big, so I complained to the retailer and they sent a smaller one and told me to keep it. So I took a stab at taking it in, and, well, it went terribly (I need a walking foot for stretchy fabrics), but it still worked out and it’s totally wearable.
Once you start to realize that it’s not that hard to mend things… It’s like a super power.
I have a couple of really nice REI camp chairs and one of them got several holes burned through it by flying embers around the fire one night, so I patched them. I didn’t even try to make it match, I full-on chose a totally different color patch, and bright red heavy duty thread, and it looks badass.
I find that walking feet can be hit or miss. Sometimes it’s a matter of adjusting the zig zag stitch a bit or making sure you have a ball point knit needle in your machine to get the stitches right. Adjusting the pressure of the foot can help sometimes too. Luckily walking feet aren’t too expensive and they are fun to play with.
I eventually broke down and got a serger to make my own tshirts.
Are they worth it? I’m mostly a quilter, but have a relative that is offering me their old serger.
I love mine but I also like working with knits to make and repair underwear and tshirts. That’s where they really excel. I’m working on a skirt now and debating if I want to do a French seam to make the interior look clean or just run it through the serger. Ultimately the serger would be faster and just as sturdy. They are kind of a specialty sewing tool and changing out the thread can be a beast but for certain tasks they really shine.
I don’t know much about quilting, but I wouldn’t want to miss my serger (got a cheap one from Lidl 3 or 4 years ago)
Fininhing edges when shortening trousers, or quickly taking in a shirt in one go… I love it. Yes, definitely worth it!
I’m really new at this so I don’t pretend to actually know, but the problem I was having was massive bunching of the fabric that would make it basically either stop or turn, and because it was close to the edge I couldn’t pull it through from both sides. Does that sound like something a walking foot will help me with?
It might. Sometimes with knits, especially if you have the wrong needle or are really close to the edge, it can catch in the feed dogs and cause that problem. You can have similar issues if you have too much tension as well. Make sure to get an old Tshirt with similar fabric that you are retiring and practice some different zig zag stitches first. I keep sacrificial clothing around for practice stitches. You can also try adjusting the foot pressure to get it to feed more consistently.
What an awesome and practical skill! In a world where people throw out things with holes, you can give them new life.
A subreddit I loved was “visiblemending” where people fixed things with visible stitches, patches, etc often in very fun and creative ways! It’s totally a thing and totally cool.
I could use a Lemmy group for that! I could also use a sewing group but haven’t found one yet.
Its just Creative on Beehaw at the moment. I think until we get so much sewing content that nothing else gets seen, all crafty things should be together. Whats the point in having specific craft forums if they are each only getting a post a day?
We need a c/visiblemending. Please someone, make this happen!
Looks great OP! Like others have mentioned, in a location like that I would reinforce it with fabric on the inside. I would also add a layer of stiches a bit further back from where the tear is as where it is now looks to be putting a lot of pressure the few lines of thread left in the fabric. You want it to pull as evenly across the fabric as you can. I really think a patch with some sashiko style stitching would keep these jeans going for years.
sashiko style stitching
I was skimming this page on it and was left with some questions - it tells you what to do, but not why.
How much of Sashiko is style, and how much is utility? For ex. with the stitches chart at the bottom we are advised to “leave the center open”, “avoid crossing over”, “leave a slack loop on corners”, but the purposes aren’t explained.
I’m cool with it being for aesthetic reasons but I really like to understand what I’m doing, not much of a blind rule follower, and kind of a minimalist tbh.
That page you linked is using it more for embroidery than strength but the intention is distributing the tension more evenly over the fabric with long series of running stitches. As I mentioned before it looks like there is a lot of pull happening along that sensitive raw edge of the tear near the seam which makes it likely to pop again. By distributing that tension more evenly along a larger area of the fabric, especially with the fabric patch behind reinforcing it, your mend will last longer.
I enjoyed the philosophy link, thank you.
No worries, always happy to chat about sewing and mending haha
Yeah stitching seams is surprisingly easy and has a rewarding feeling. I’m still using the same two shitty nylon grocery bags I got like 4 or 5 years ago, I only stitched the seams in a couple of places and they still do the job perfectly.
I also started stitching the holes on my underwear because who the fuck cares how your underwear look.
I haven’t made any womens style underwear yet but I’ve made men’s style. Sew like a man is where I get my patterns. The owner also makes how to videos that go with his patterns.
I have issues with the fabric itself wearing through more than the seams. I patch them on the inside with some fabric from another old pair of jeans, and sew over them with varigated thread so the fabric is reinforced but the repair is not very visible.


I got some embroidery thread and fixed up an old sweater that ive had for…over a decade? It had some pretty big tears on the sleve. Now it has some nice looking decorative stitching. :) Already a fan of visible mending.
I’m wearing mine with pride! I know it looks kind of ratty, but it’s so comfortable and I’m proud of being able to prolong its life. Senseless waste is pretty hateful to me, keeping things going is a great feeling, especially when it’s a favourite!
that’s a great job! you seem to be a natural at this. if you go down there rabbit hole on this do a web search for invisible mending - it’s crazy how good they can fix things that most of us would say are irreparable.
Looks great! It’s really satisfying to be able to mend your own clothes instead of immediately replacing them. I’ve looked into visible mending before which is amazing.


