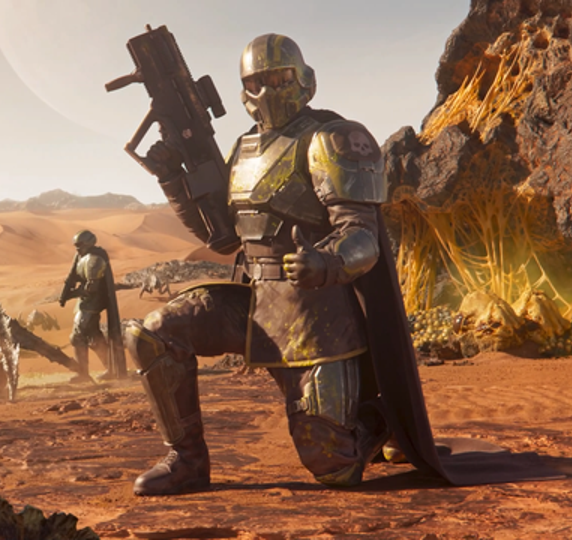
My squad always tries to drop the Super Samples at the extract point before continuing with the rest of the objectives. It doesn’t help when you get overrun and fail to extract, but it makes it a lot less risky.
My squad does that we can as well, they’ll be there if you make it back. If not shrug wasn’t ment to be.
My squad also likes to land near the extract when the mission allows for it, so that we can seed the drop zones with EAT’s, a resupply and for bot missions, clear out any enemies on the landing site.
Am I the only one who likes fighting the bots? I die way more with bugs.
I like fighting the bots. I have more options dealing with Hulks and Tanks, not so much against Bile Titans…
I think they’re more challenging but a lot of fun as well.
I prefer the bugs because I don’t get sniped by rockets from 10km away
Lol that’s one of the reasons I like the bots
I prefer fighting the bugs. But smashing tin cans can be much fun with the right team, too!
I think a lot of people like the bugs, I don’t mind them I just pick bots before bugs usually.
I’ve lost 6 super samples to the bots.
Only 1 super sample? Did you just not pick up the other 2?
Amusingly: same, but I only had my first bot mission this evening. Couldn’t figure out how to blow up the bot factory I found (spinny red fork on tower jamming comms?), so I pulled out and went back to bugs for the rest of the session. 🤪
If you’re lucky, a Bot Fabricator will be next to the Jamming Tower. Destroying the Fabricator will kill the jamming tower next to it. Use a Spear, grenade in the front vents, or a well placed Quasar / EAT-17 / auto cannon shot to front vents.
Or you could do it the old fashion way and disable the jamming by using the console then use what ever method you want to remove the jamming tower such as hellbomb.
Roger that. Wilco. Fab first, Jam to follow. Yes, chef.
there are a type of mid/big sized jamming tower that can’t be taken down even if you destroy the fab nearby. You still have to operate the console. But the good part is, the path up to the console is elevated and makes it easier once you already clear your path up. During higher difficulty if they spawn patrols with hulk or tank you can try block their path by moving some of the big explosive cans to block pathing first. (if you have more than 2 people attacking the location, just make sure you can clear the area first is fine, the patrols etc can be easily dealt with or ignored even on lv7+ because of the height elevation. And helldivers can climb and jump off walls etc while bots can’t. only the jump pack bot can do that.
my regular attack for jamming tower is :
- throw grenade etc to attract enemy while running away to climb from another side. (reason for this is if they are pulled out, the drop ship won’t land directly on your spot. (maybe with exception if you also drawn attention to a scan tower, but that’s unlikely. )
- once you started going up try destroy the fabricator asap and start shooting the mobs that might be coming back. (or mob that was originally manning machine gun.) on higher difficulty, you block the ramp even when you are going up cause after the first ramp around there are really few enemies. blocking is fairly effective against heavy enemies and mobs don’t shoot them anyway.
- do the console until the tower stops spinning. drop hell bomb or whatever other strikes to finish up.
For blitz mission ignore the jamming tower since it takes too long on high diff without coordinated crew. You would be considered lucky if you drop directly to jamming tower for blitz so you can just get it turned off first.

